How to
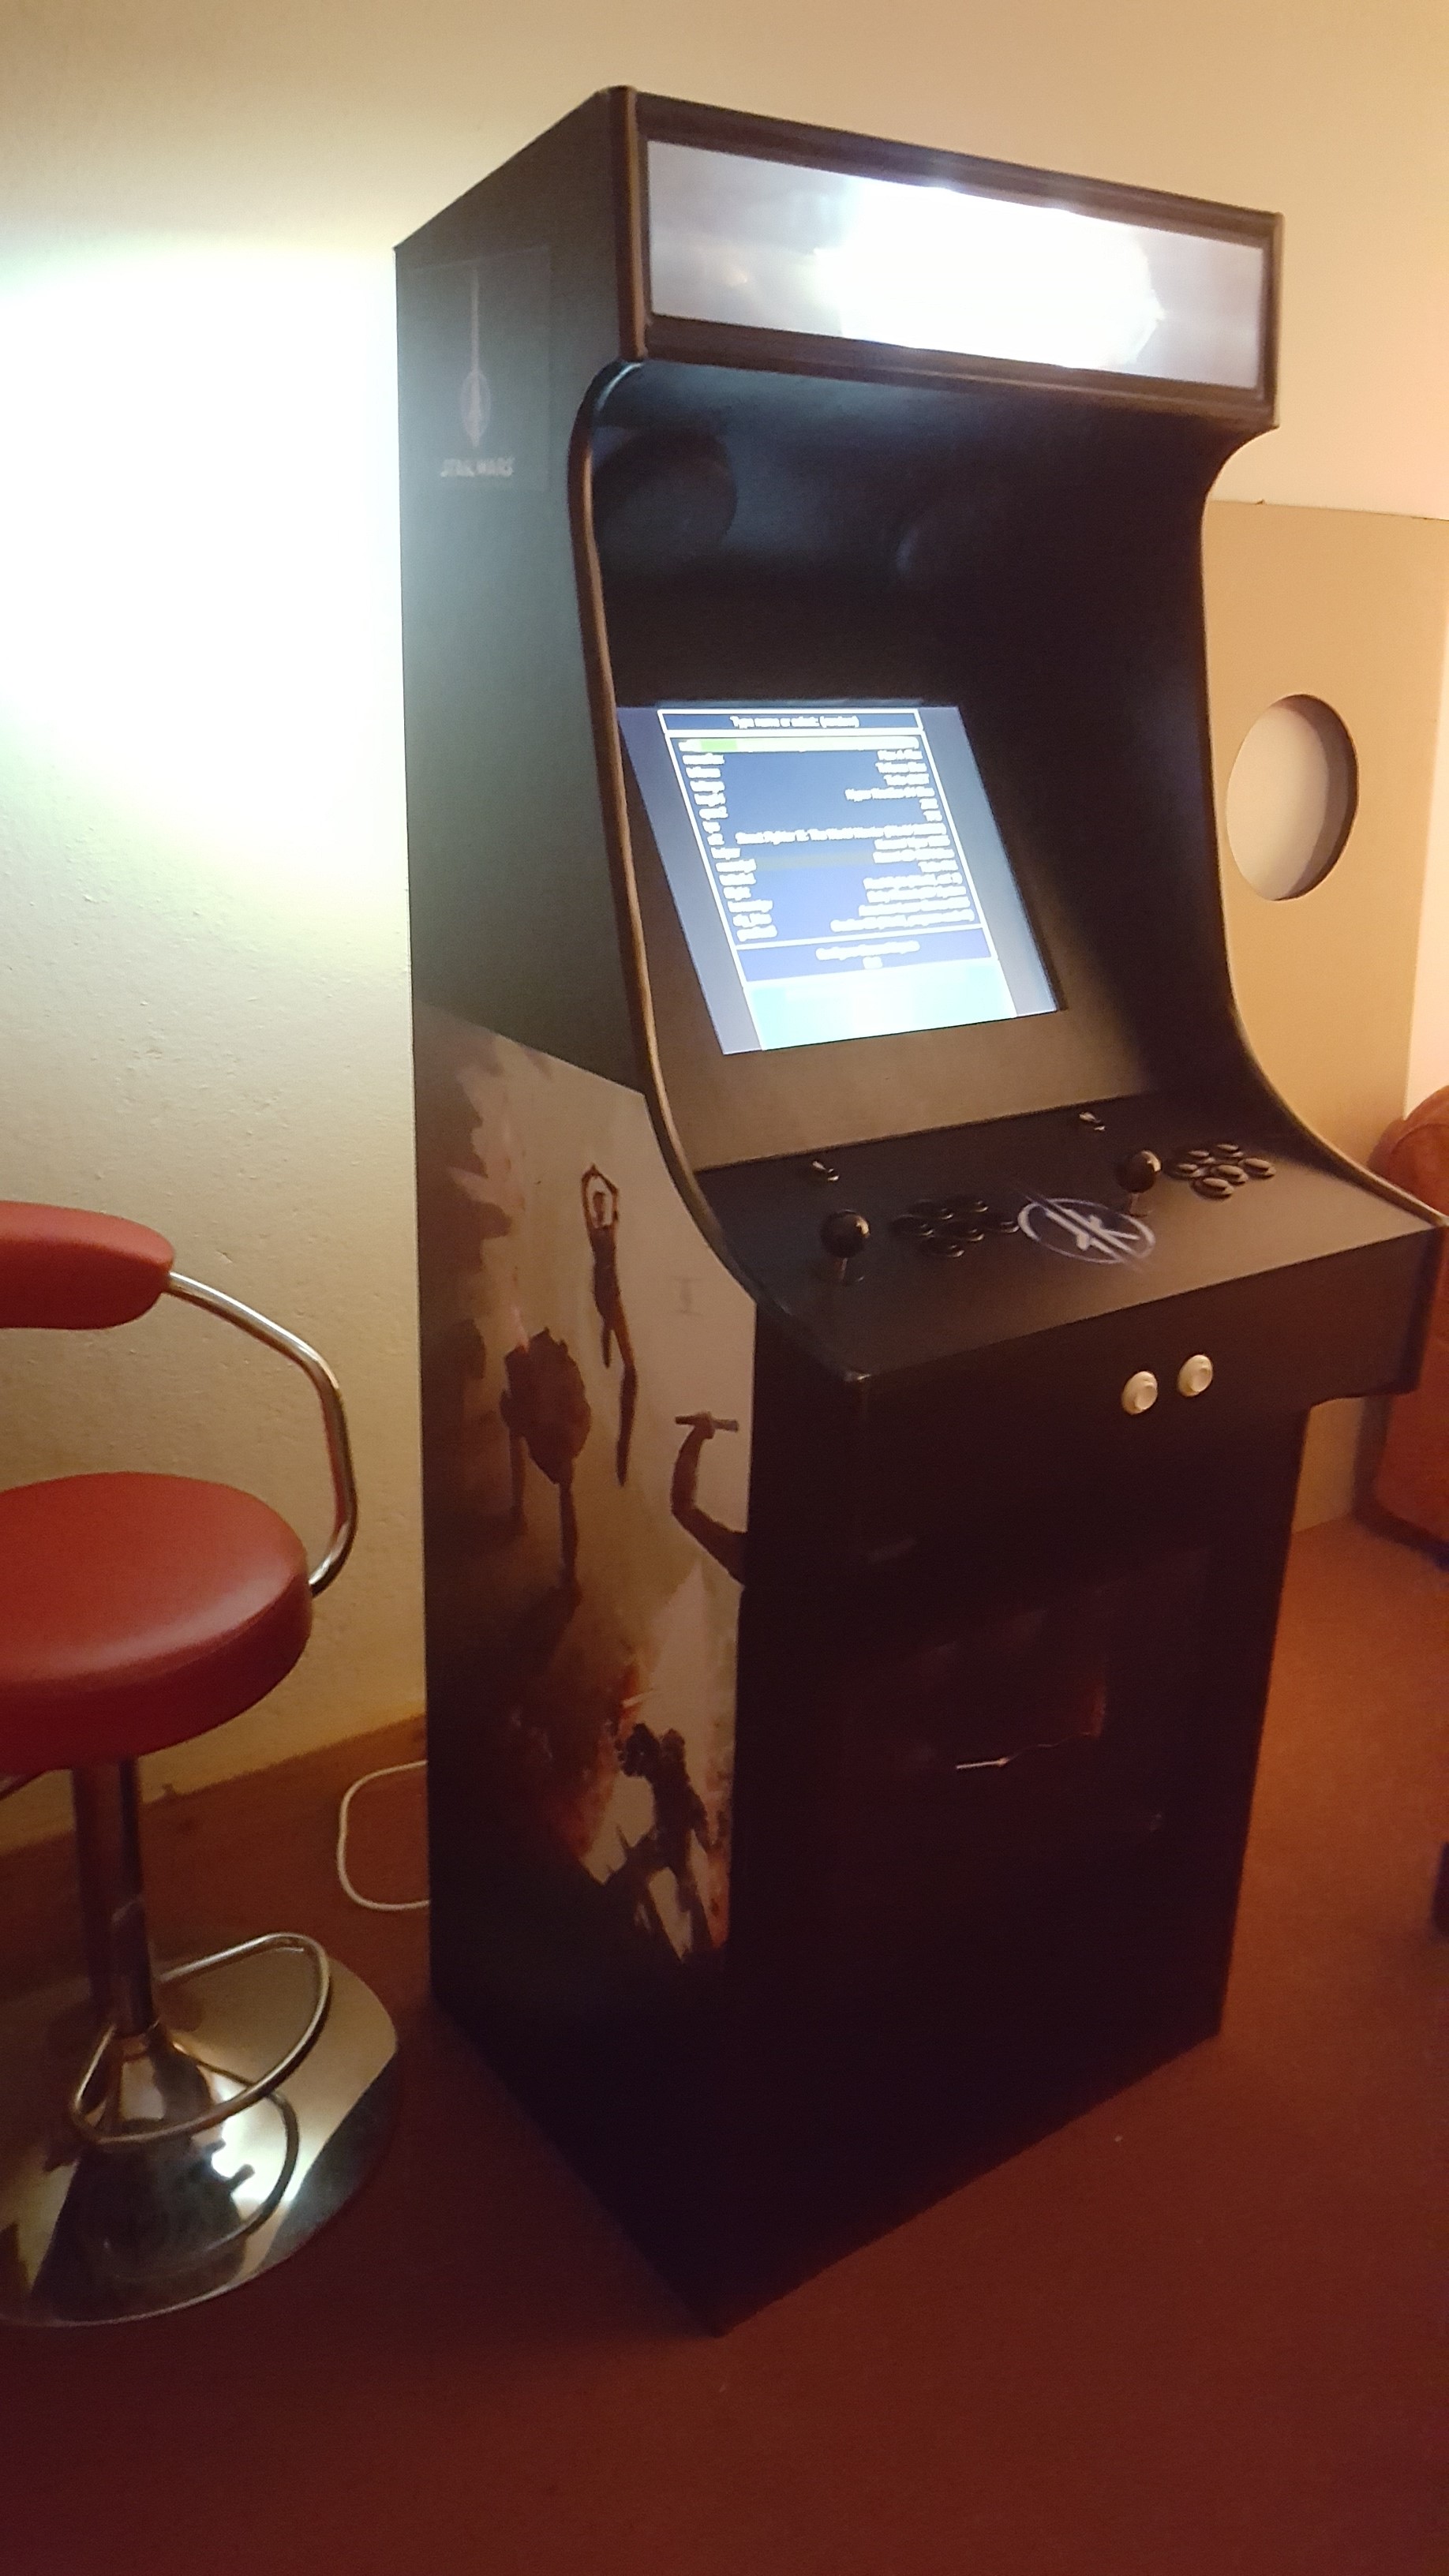
A few years ago I made a MAME (Multiple Arcade Machine Emulator) cabinet. I'd had the idea in the back of my mind for a couple years, and a friend had kindly given me a 19 inch square monitor and a fairly basic spec PC that he no longer needed, so decided put them to good use.
The beauty of MAME is that as it's an emulator that literally loads old arcade ROMs, the requirements are extremely modest by today's standards. It cannot make use of any discrete graphics hardware or more than 2 cores and therefore any 3.0+Ghz Core2Duo (like an E8400) is ideal. The only reason you'd need higher spec on a box like this is if you want to emulate other machines (like GameCube) or run snazzy front-ends like Hyperspin (I use MaLa). Plus once you've built a cabinet there's no reason you can't upgrade the hardware at some point as I have (it now runs a 3.0Ghz Quad core Xeon with a GTX670 GPU for Ultra Street Fighter IV.
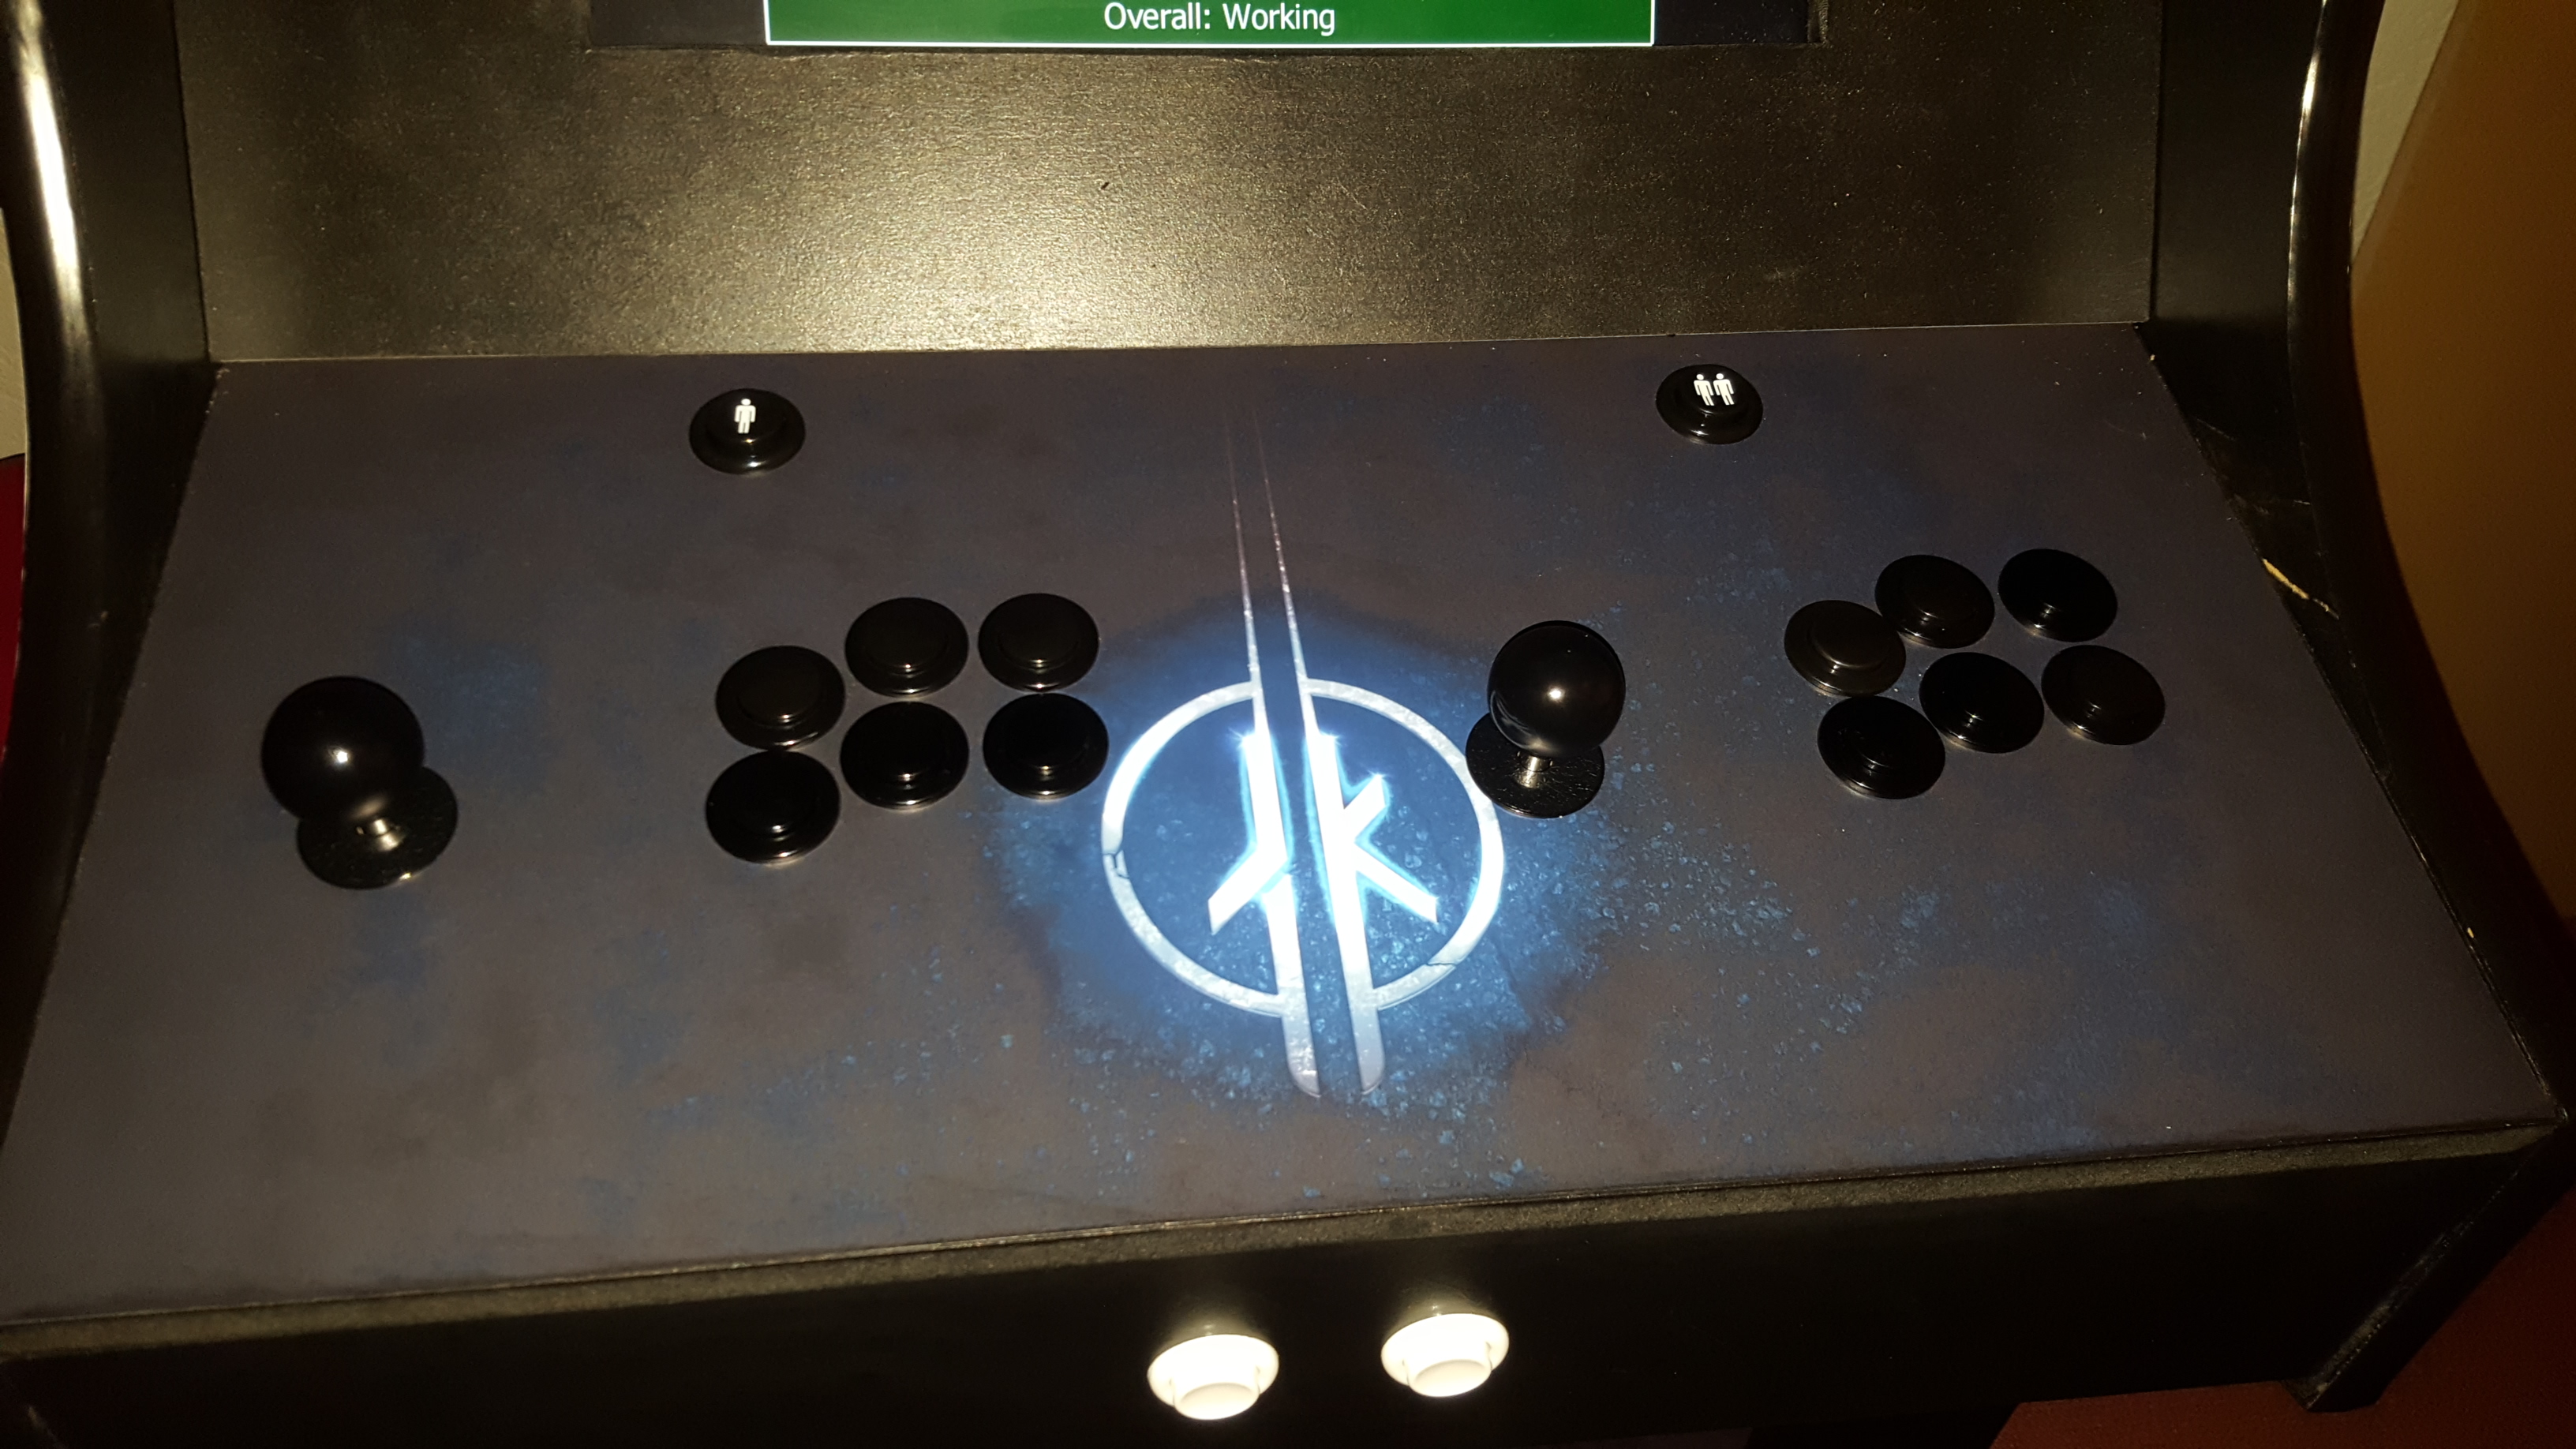
My design spec was that I should build the machine as cheap as possible without sacrificing controls, and for this reason I decided to use and repurpose an Arduino, as you could pick one up considerably cheaper than a commercial arcade interface. This allowed me to splash out a little more on the buttons and sticks, which I purchased from ArcadeWorldUK - sadly now closed - I didn't care about illuminated controls and the black suited the aesthetic of the final machine well so went for Happ Competition convex buttons and Sanwa sticks, which are top quality and fantastic. For Street Fighter 2 specifically you need sticks with the microswitches fixed to the PCB so no movement can occur or you don't hit the diagonals consistently.
I made the machine in 2016 and I think there are a few guides around now, but wanted to provide my own not only as a reference but a way to collate the files I used including my own sketch to assist anyone else wanting to complete this project. I totally recommend it; it's a lot of fun to design, build and use! Plus cheaper than purchasing pre-made which are now easily double the price.
I'll start with breakdown of price then give some instructions:
- cabinet: £160 + £25 courier
- buttons, sticks, wiring, grilles: £117.89 + £11.97
- Arduino: £7.31
- paint: £13.98
- amp: £3.81
- LED + wire: £0.88
- polythene sheet: £5.75
- vinyl graphics: £48
- USB extension: £1
- ground loop isolator: £5.99
- keyboard: £17.99
- latches: £2.49
Total: £422.06
As mentioned, I was given an old monitor and PC, although you can find similar spec machines pretty cheap on eBay now! Another friend then donated some old round Sony car speakers, which sound great. Not much bass though, so if you've got an old 2.1/5.1 speaker system hanging around you could install that.
I ordered the cabinet pre-cut from eBay. There were a few sellers but the one I used allowed me to change the button layout (for an extra £10 if I remember correctly), and I wanted one suitable for Street Fighter. Buttons, sticks, wiring and grilles were from Arcade World UK (sadly no longer trading). Black paint (it needed 2 coats to look good but 1.5L was enough), latches, and 3mm polythene sheet for the marquee from the local DIY store. The amp, Arduino, 10W LED, some bits of wire and a USB extension were all from Banggood (slow but cheap and reliable), and the ground loop isolator from Amazon. Vinyl graphics for the sides, marquee, kick board and control deck were from a local printer - would do the exact same thing again it looks great, is hard wearing and easy to install - plus doesn't show fingerprints.
The LED gets fairly hot, but after an initial investigation ended up sticking it to the bottom of an old CPU heatsink I had lying around and simply screwing it into the wood in the centre of the marquee cavity through two of the fins and have never had an issue with it.
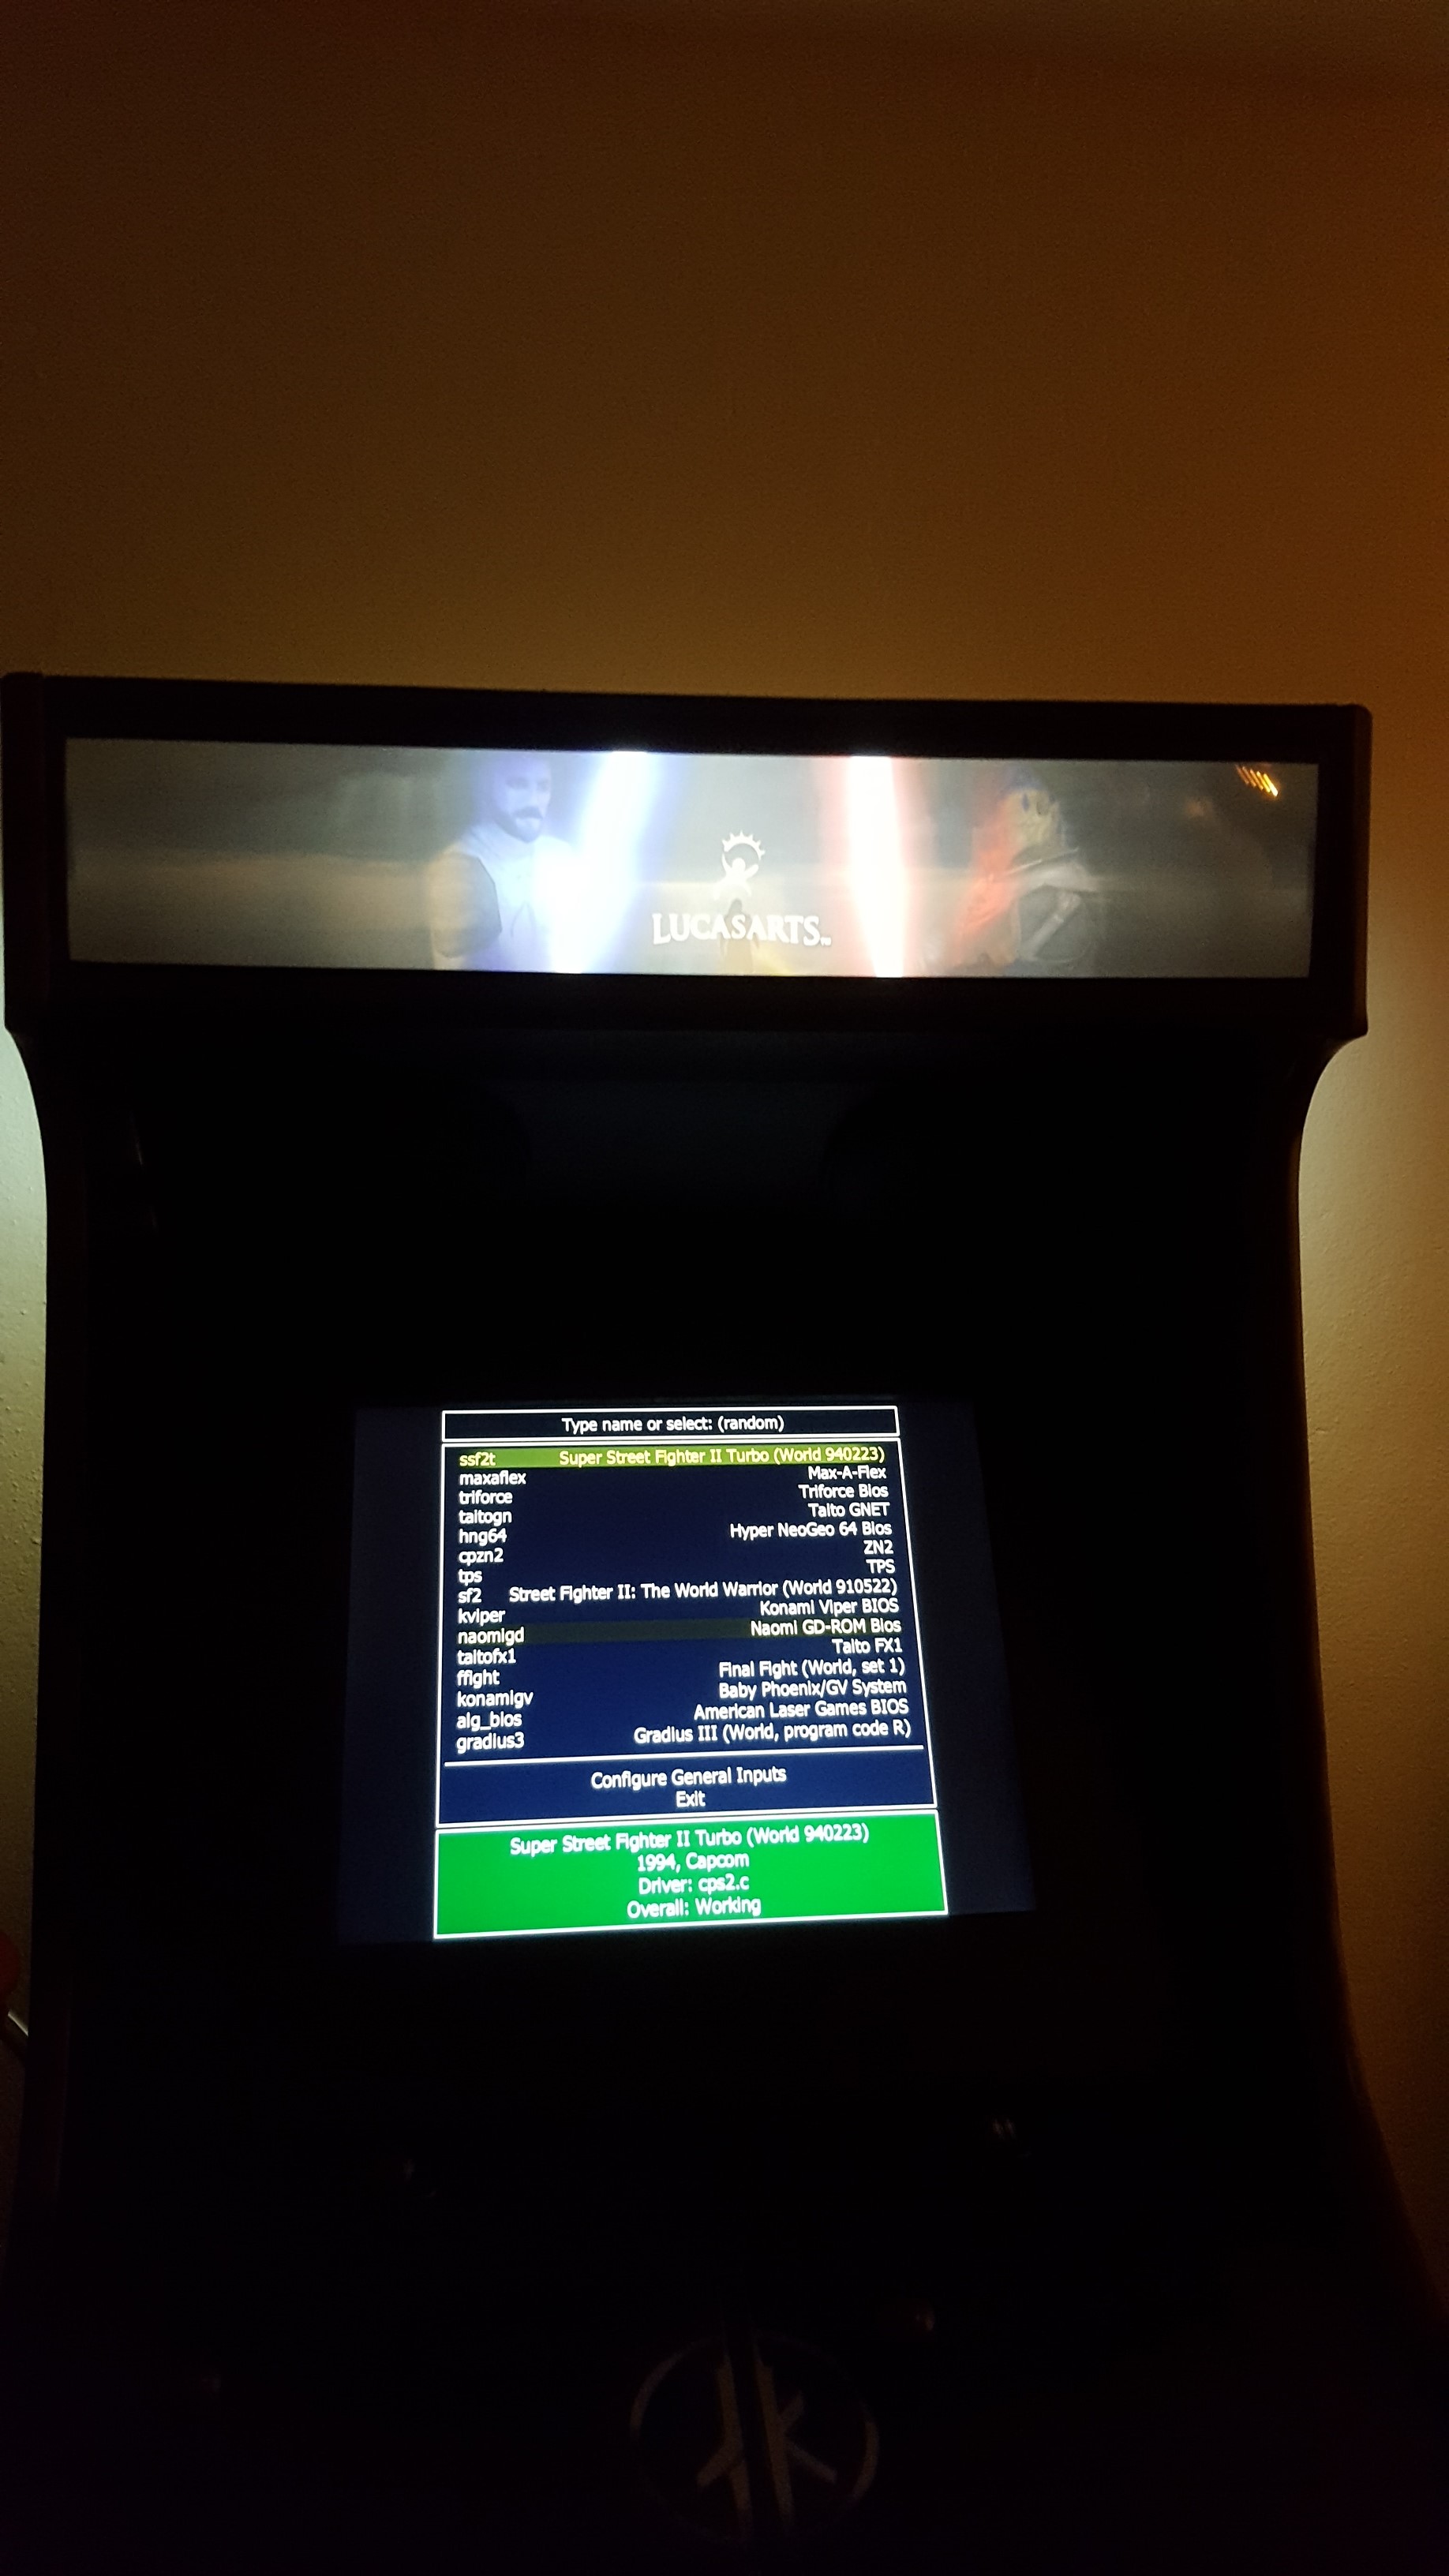
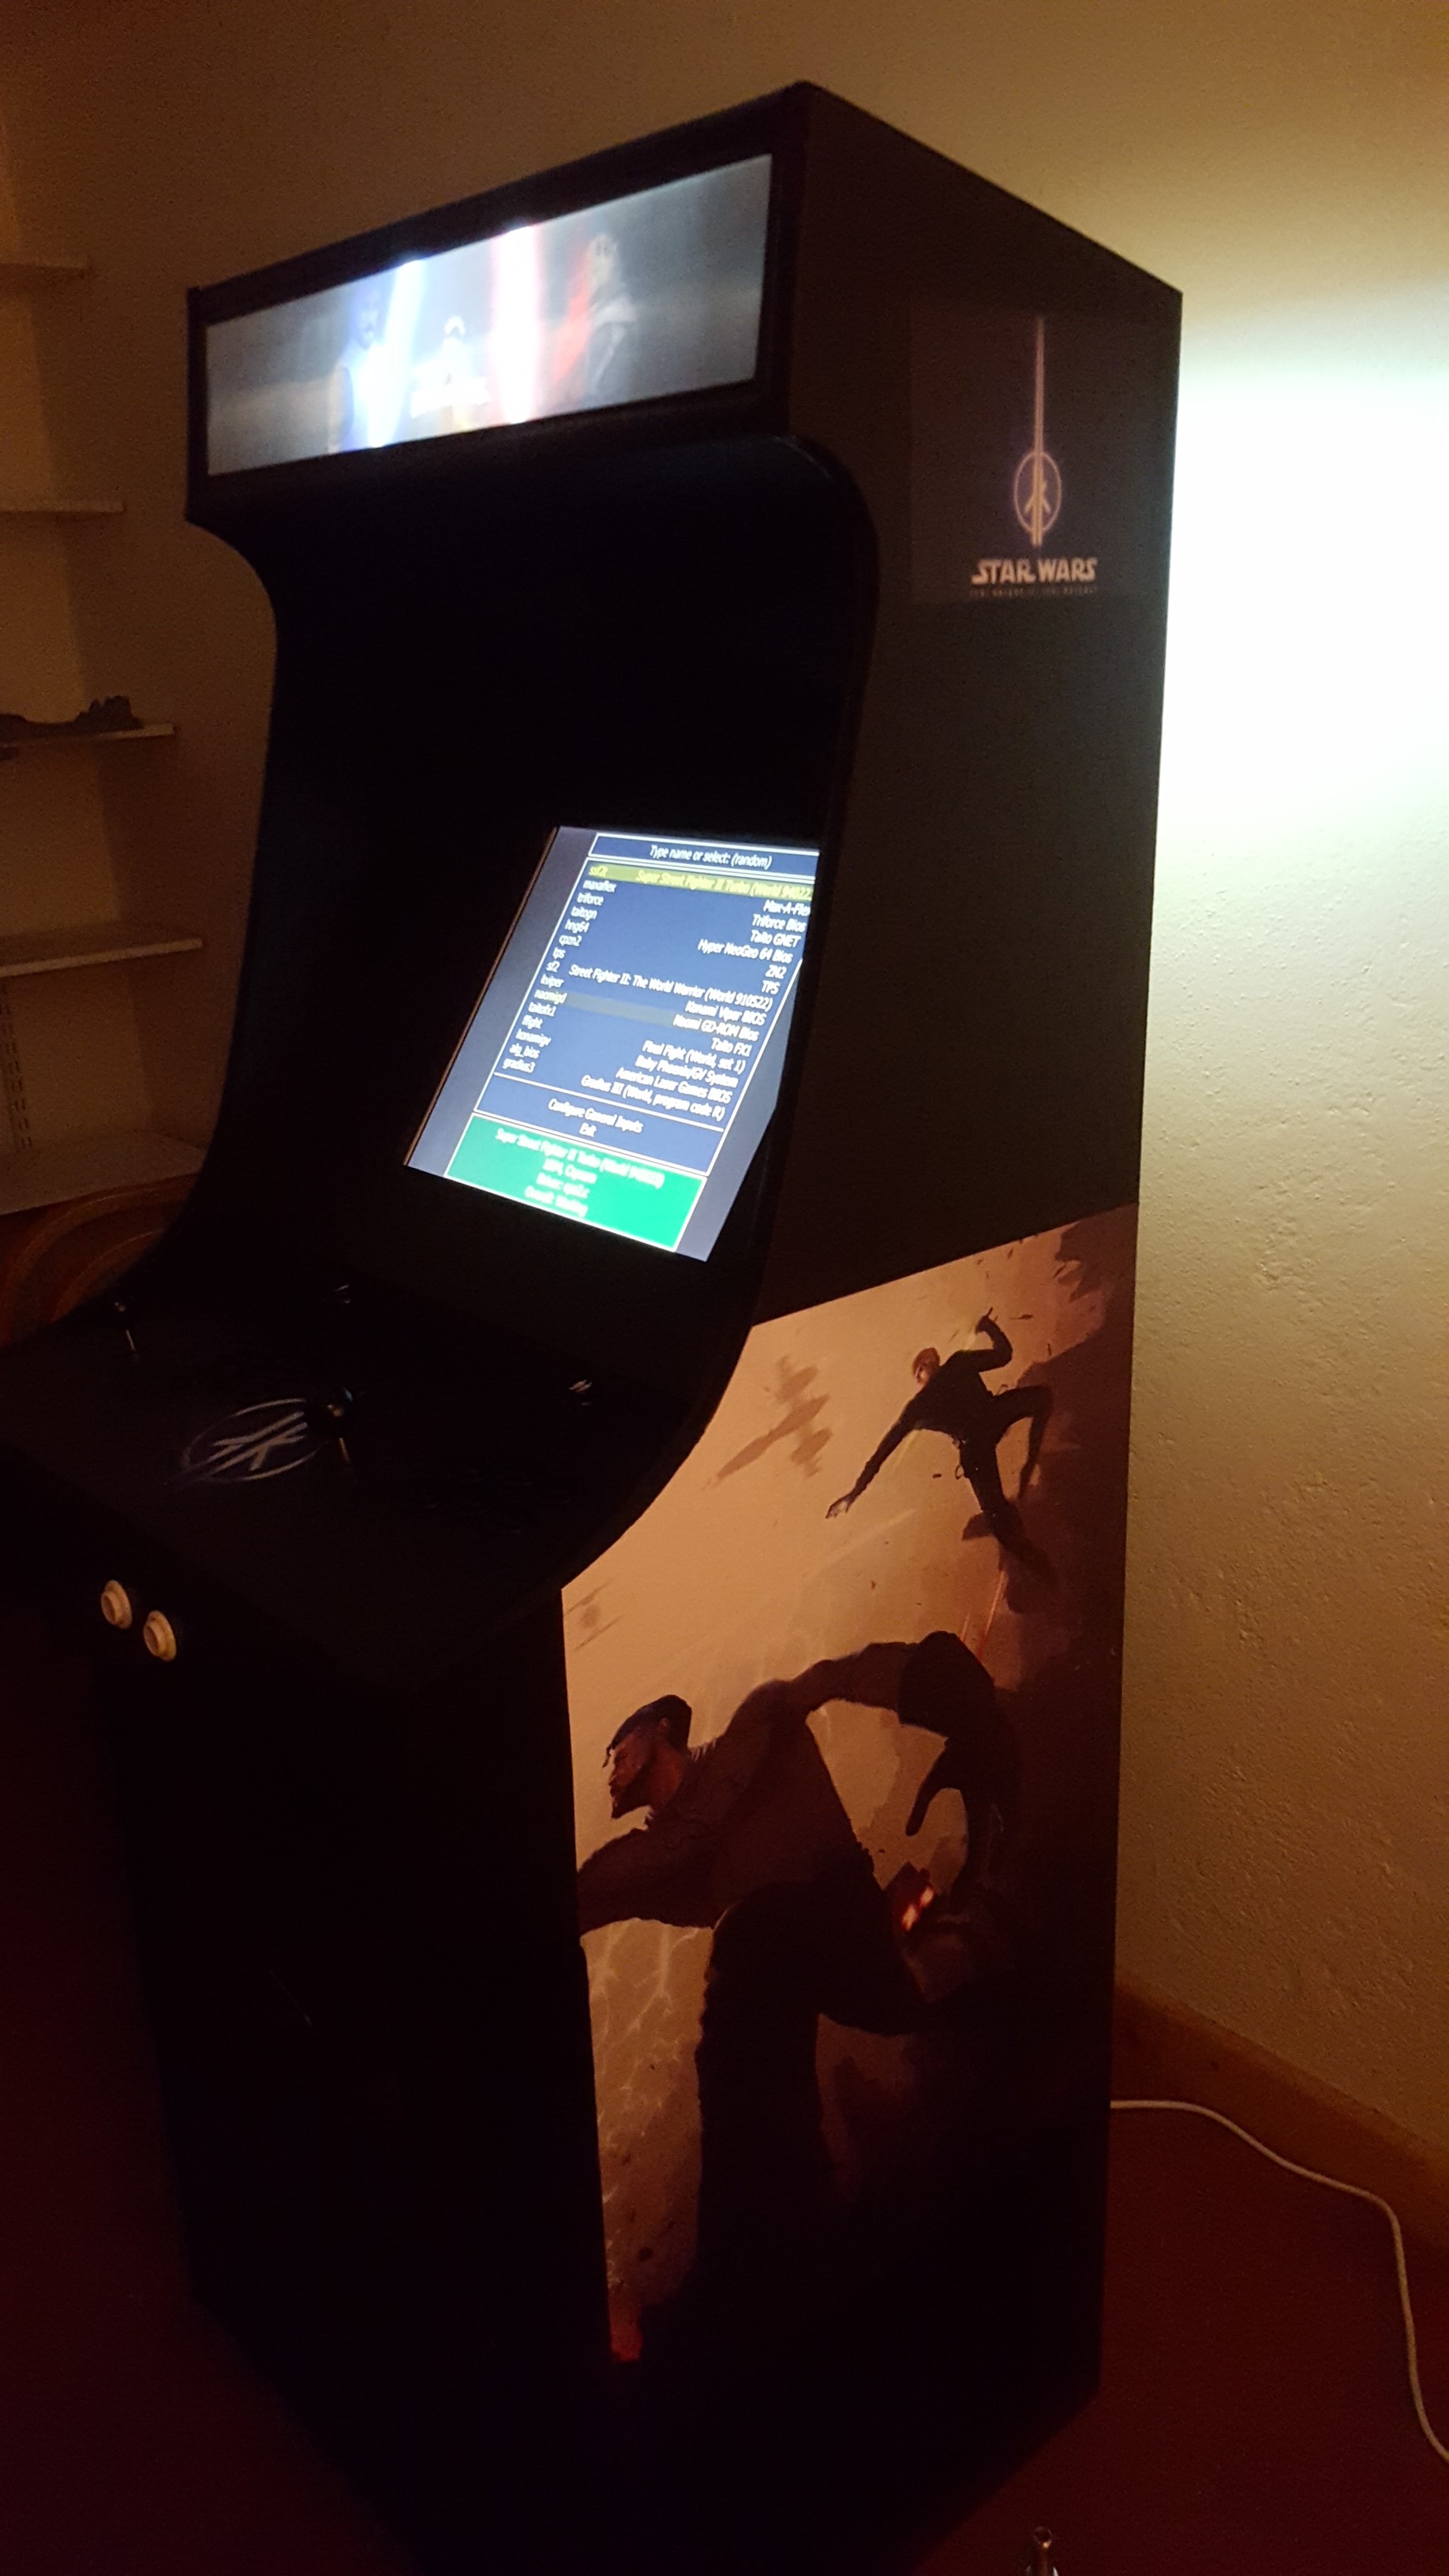
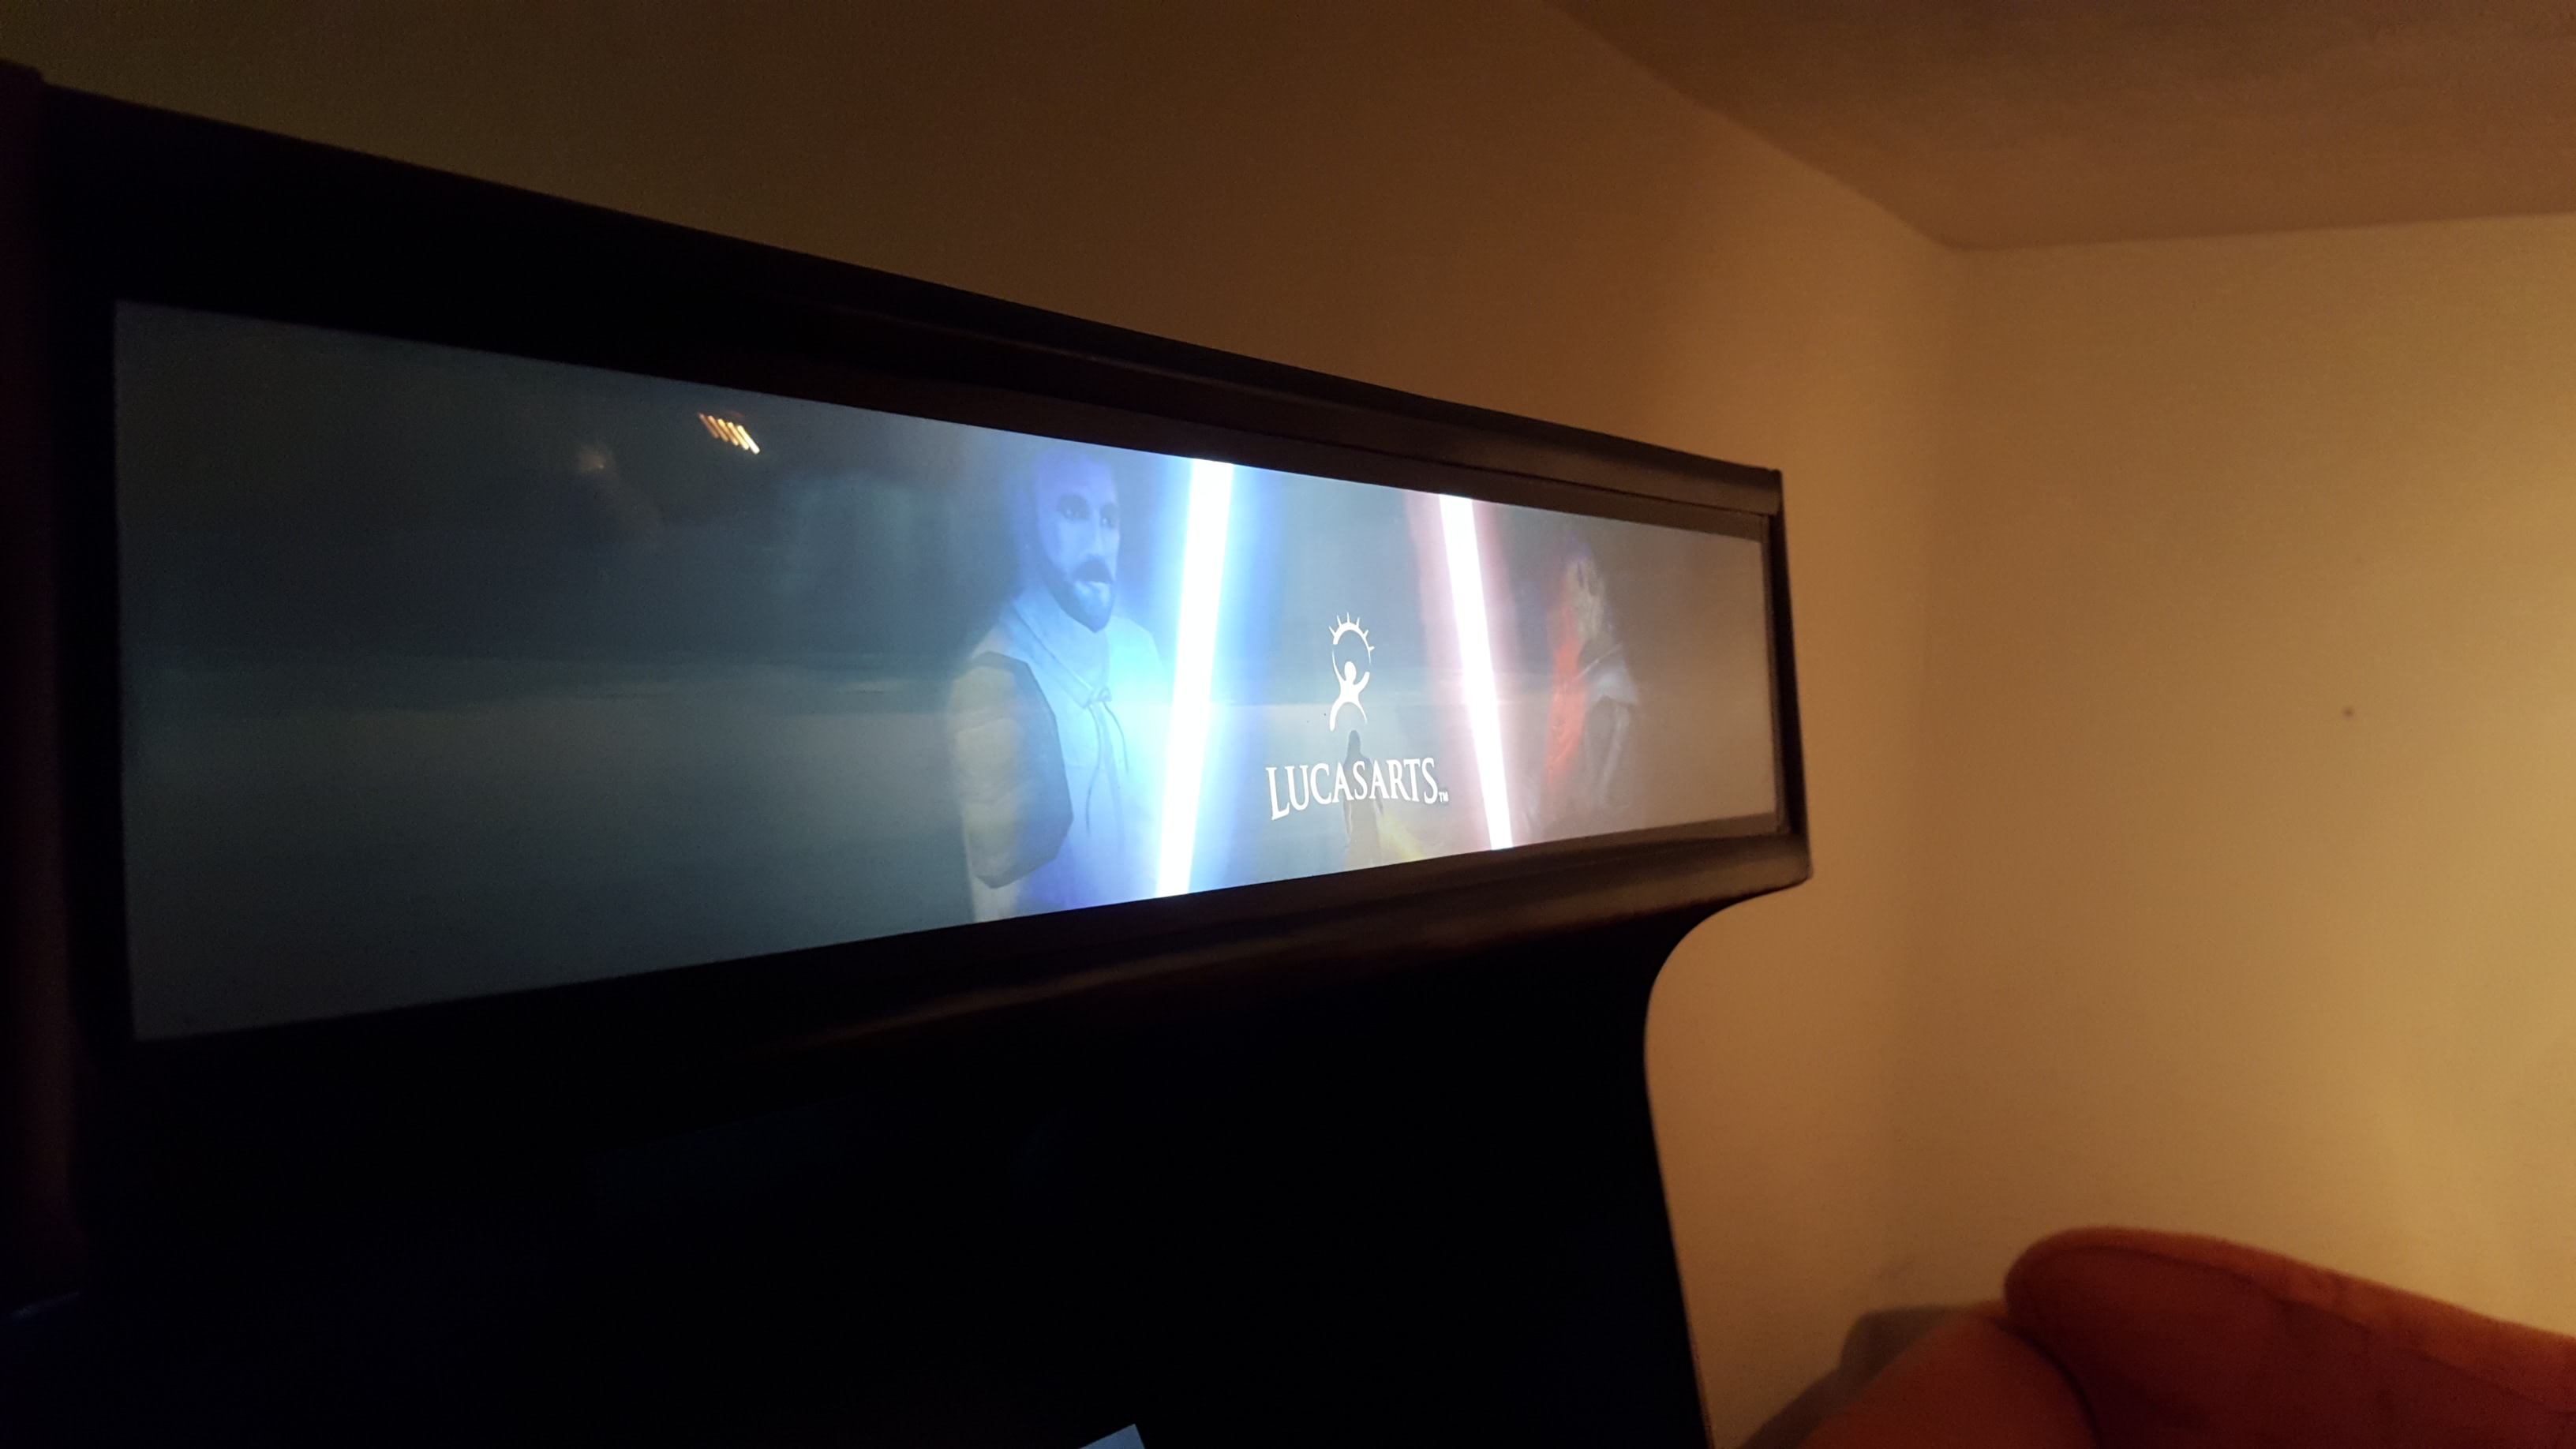
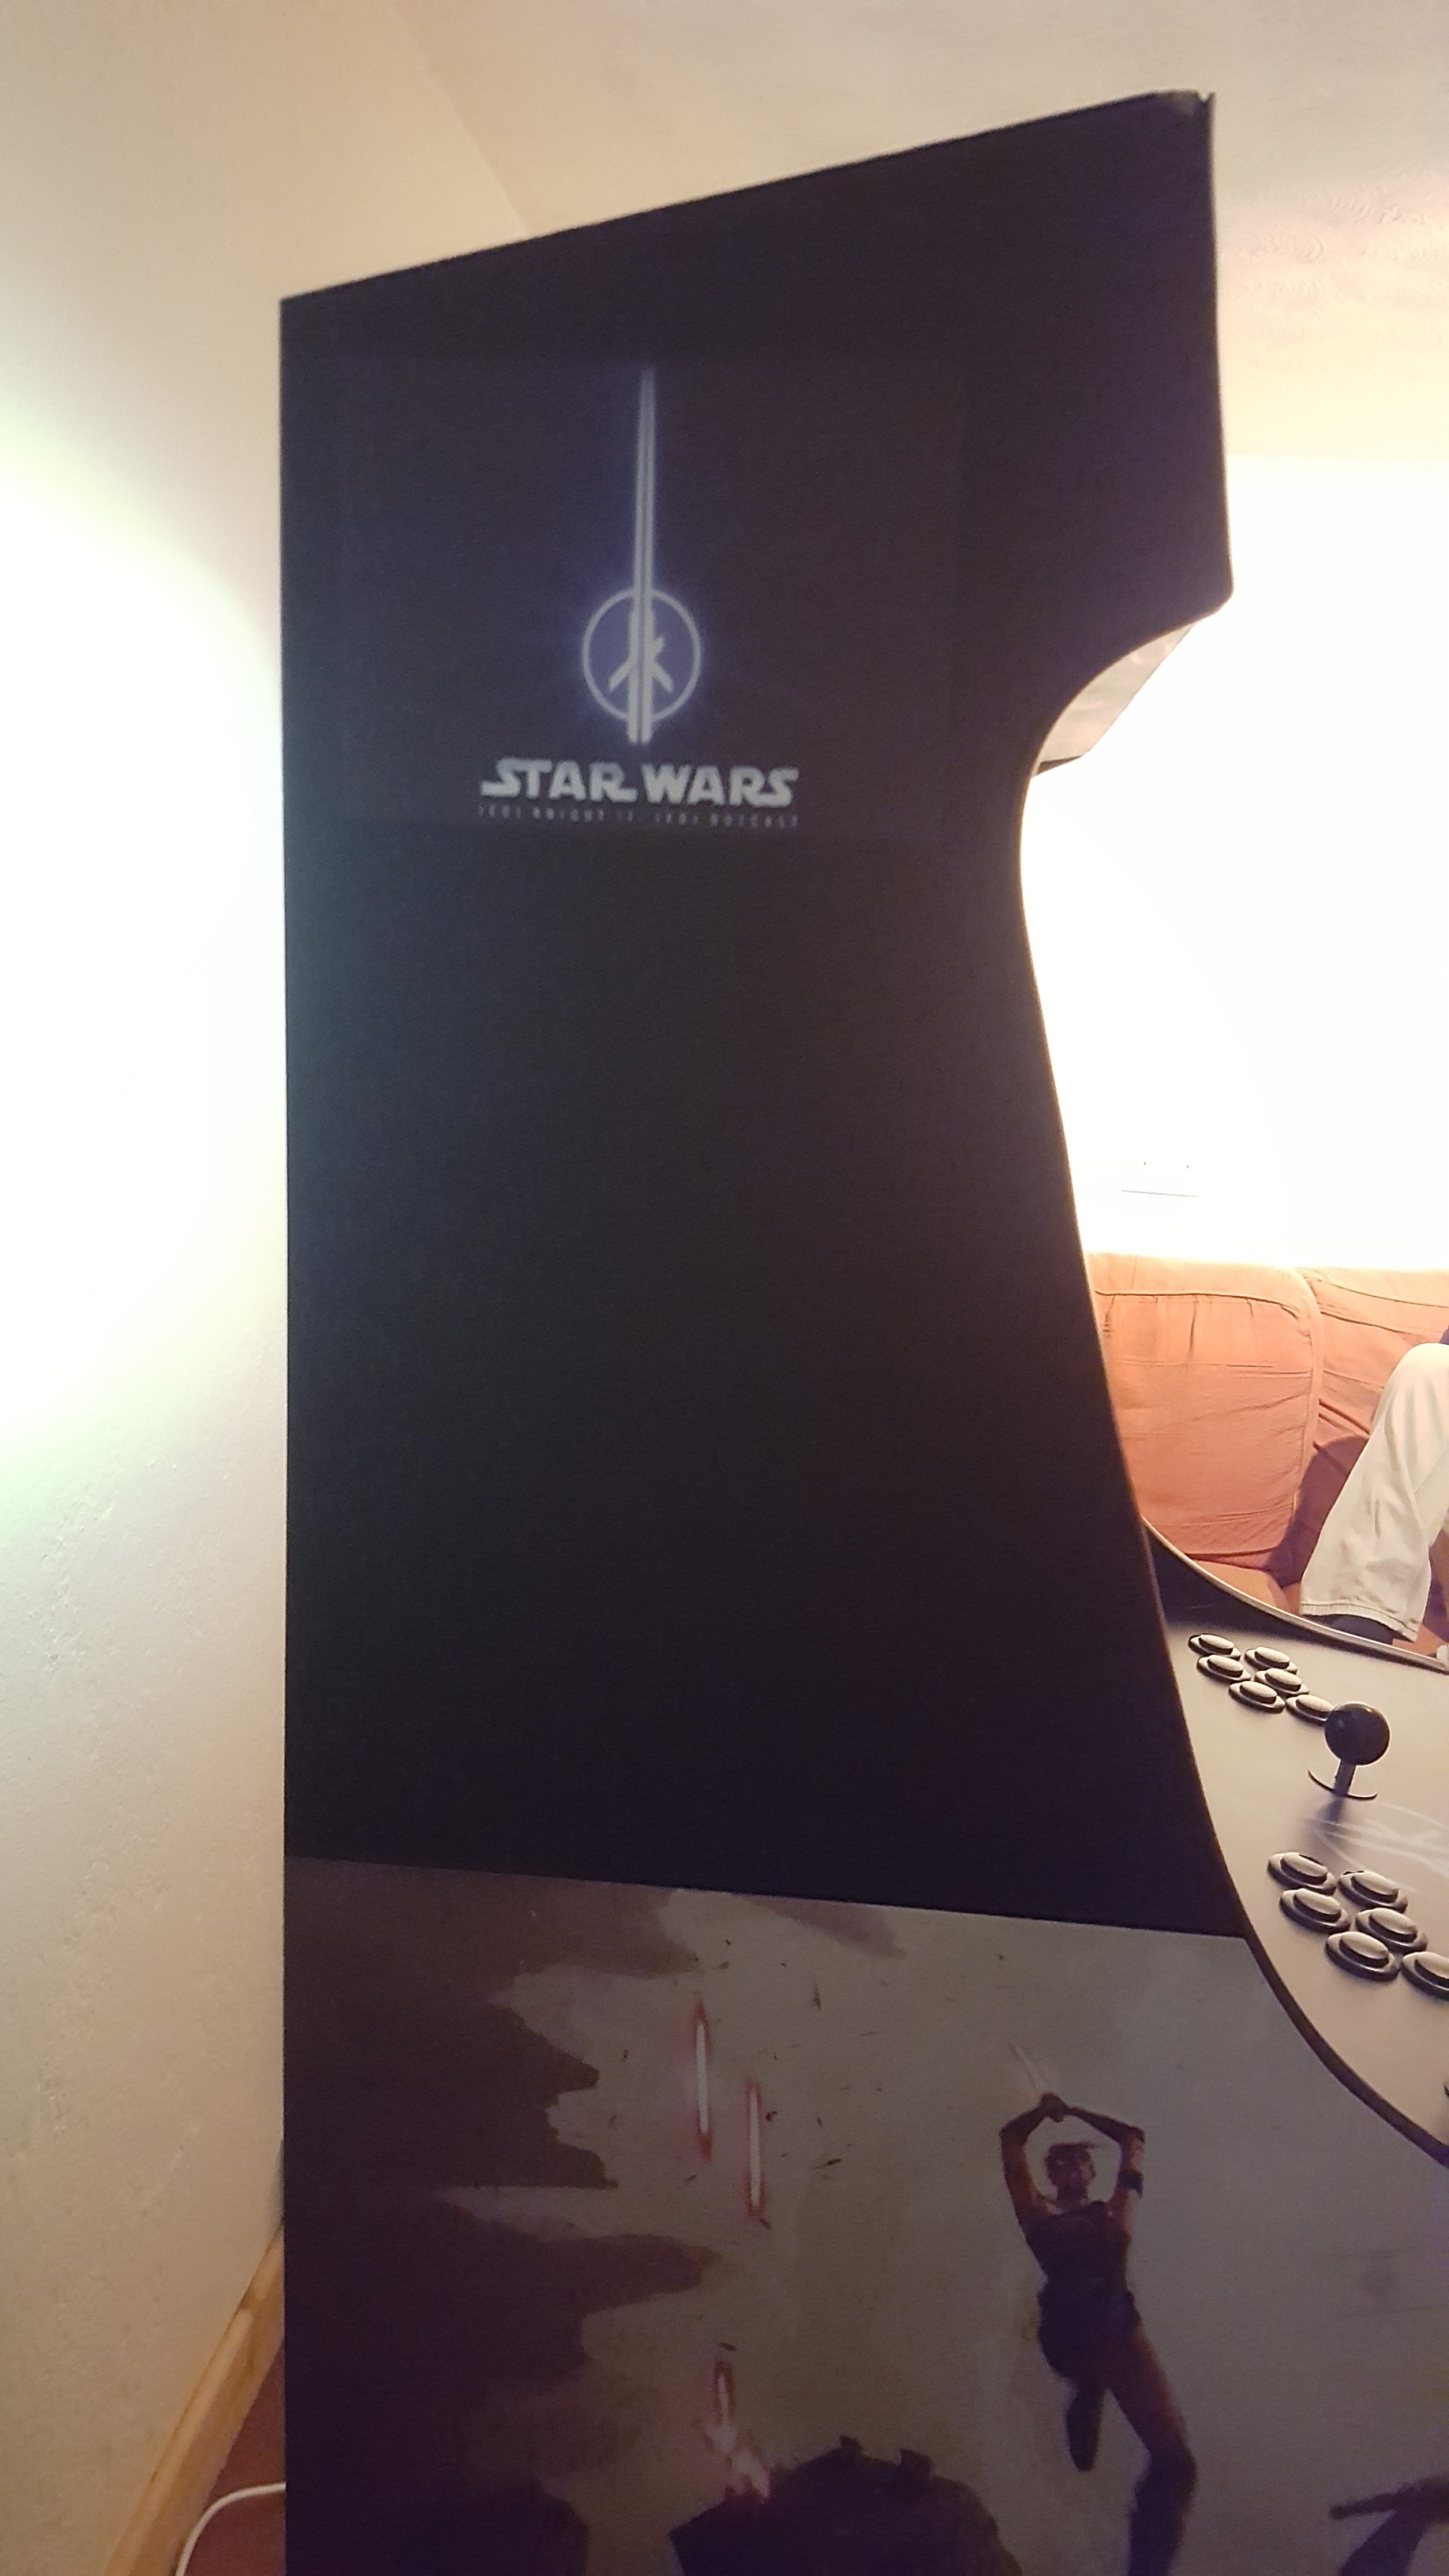
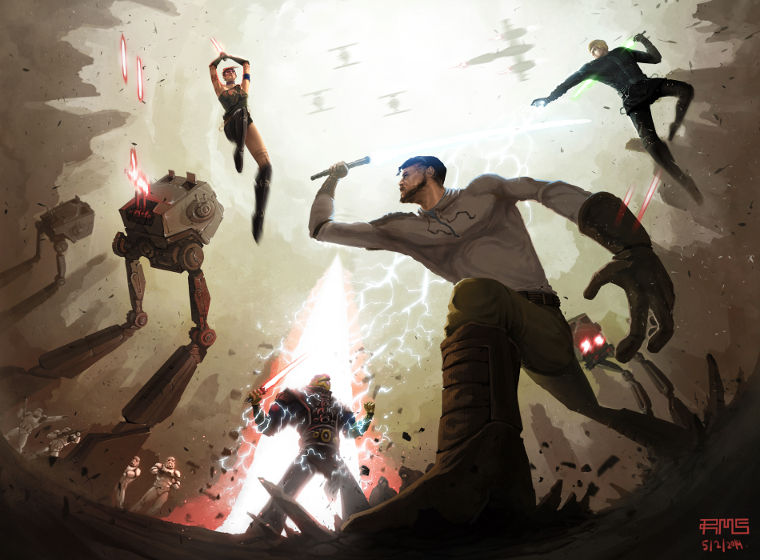
I found all the graphics on the internet, the marquee is 3 images I combined in GIMP, the sides a high res image uploaded not long before construction. I didn't want the standard MAME graphics so decided on a design based on my favourite all time videogame:
Jedi Outcast
Arduino
I've since made joysticks with this process, for which an Arduino Uno is sufficient (you can use the analogue inputs as digital), but for 2 sticks (4 inputs each) and 16 buttons (both 1 & 2 player Coin slot and Start) you'll need an Arduino Mega. There are a lot of imitations around now, I'm sure plenty of them are ok for the job - but what you need to look out for is the ATmega16U2 - that's the small chip (EEPROM) used for uploading the sketches to the board in normal operation but we will repurpose to transfer inputs to the PC. Don't skimp on this, you may get away with it if your board has a non-official alternative but likely your mileage will vary. You don't want lag on those inputs!!
Software
The first step is to install the software. You'll need the Arduino IDE to install the sketch (to the ATmega2560) and FLIP to update the 16U2.
Upload sketch to the board
This is the tricky bit. As you are changing the function of 16U2, if something goes wrong it is possible to brick your Arduino. For this reason there are 2 hex files provided - the original one that already exists on your Arduino and the one we need for the MAME controller. I therefore recommend you don't skip flashing the original hex to start with. If something goes wrong this is how you restore your Arduino to it's default state - once we've flashed it with the new hex file you cannot then upload sketches to your board!
- Plug your Arduino into your PC with a USB cable (avoid USB3.0).
- Open your Windows Device Manager, you should see the Arduino present.
- Short the 2 pins closest to the USB port (shown in the picture). You can use a lead or just touch something metal between them like a screwdriver.
- In your Device Manager the Arduino will disappear and an unknown device will appear. This is the 16U2.
- Right click it, go to locate driver, search in the folder where the Arduino IDE is installed and find the Drivers\FTDI USB Drivers folder and install them. Your Device Manager will update to show the 16U2.
- Run FLIP.
- Do an Erase, Program and Verify of the Arduino-usbserial-atmega16u2-Mega2560-Rev3.hex file.
- Short the same pins, Device Manager will return to it's original state.
- Use the Arduino IDE to upload sketch Mega_MAME_controller.ino to the board: File -> Open then Sketch -> Upload.
This should work, i.e. compiles and uploads and gives you a success message - but you've not finished. All you've done is prove you can flash the 16U2 without bricking your Arduino. If you've got this far, great - I advise not to skip the above. Now:
- Short the same 2 pins.
- in FLIP, Erase, Program and Verify Arduino-keyboard-0.3-mega2560.hex.
I set the pins in the sketch to use the highest backward, as tried to keep the mass of wires at the other end of the board to the USB cable.
You can use other pins by editing the sketch in the Arduino IDE. The keypresses are for default MAME controls, but if you want to alter them refer to the Hut1_12v2.pdf file (USB HID tables downloaded from usb.org).
Wire your controls
The positive lead from each of your buttons and stick microswitches goes into the correct inputs on your Arduino. Refer to the sketch for these or check the Pinout text file. Negative leads are combined and terminated at one or more of the GND terminals on the board.
Phew!
If you made it - well done - not many people have as far as I'm aware. I hope you enjoyed creating your own MAME cabinet for far less than an off-the-shelf one.
If you've made a thing of beauty (or not) or have improved upon my design I'd love to hear from you. Send me pics - if I get enough I'll set up a gallery page. Happy gaming!

